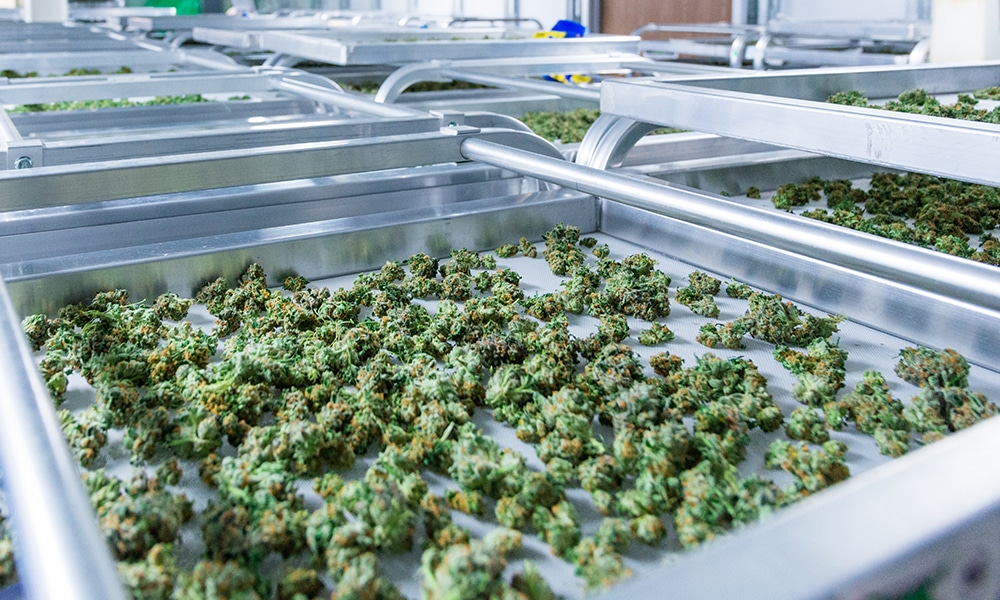
Whether you’re currently growing cannabis at home or you’re contemplating starting your first few plants, you might be under the impression that harvest time is the end of the process. While picking the buds is the end of the growing stage, it’s actually the beginning of the next phase: drying and curing. Drying removes much of the moisture, making your buds easier to handle and more pleasant to smoke. While you can use them at this point, curing cannabis flowers takes them to the next level.
Why Cure Cannabis Flowers?
The process of drying your cannabis flowers helps to remove a good bit of moisture so that you can smoke or vape them. Curing is a bit different. After you’ve dried your flowers, you store them for a couple of weeks to develop stronger aromas and flavors. The process helps to get rid of harsh compounds created during drying, such as sugars. By getting rid of these compounds, you get a much smoother experience. Additionally, curing can minimize the risk of mold and increase your harvest’s shelf life.
Factors that Influence the Curing Process
Several things can impact the curing process. Here are a few to be aware of, which can help you to achieve greater success:
Light
Exposure to light can degrade THC and volatile terpenes, ruining the potency and flavor of your buds. During the curing process, you’ll want to store them in a dark location.
Heat
Like light, heat can degrade delicate compounds, reducing the overall potency of your product. While it’s really only a significant issue if you live in a hot climate, you should be mindful to keep your buds away from heat sources.
Moisture
Before you cure your buds, you need to make sure they’re sufficiently dried. Too much moisture could encourage mold and bacterial growth. On the other hand, buds (or an environment) that’s too dry can lead to a crumbly, unpleasant final product.
Curing Cannabis For Personal Use
Now let’s get into how to cure your flowers after you’ve dried them. Here are the steps you’ll need to take to ensure success:
Prepare Your Buds
The need for this step depends on how you dried your buds. If you dried them individually, you’re good to go. If you dried them on their branches, you’ll need to trim them and separate them from the sugar leaves.
Stash Them in Jars
Next, place your buds into airtight containers such as mason jars. Place them in loosely and only fill the jars three-quarters of the way. Give the jar a gentle shake to make sure your buds are dry enough.
Store the Jars in a Safe Environment
Now it’s time to store your jars. Place them in a cool, dark environment that’s neither too dry nor too moist. 60% to 65% moisture is ideal. You might invest in a hygrometer to monitor humidity levels.
Let Them Cure (But Check on Them Periodically)
The last step is the hardest, waiting. During the first few days, check your buds twice daily. Open the lids for a few minutes to give them some fresh air. Continue to check on them once a day for two weeks. Use your hygrometer to monitor humidity levels. After three weeks, they should be ready for use. For even better results, you can cure your buds for up to six months.
While drying your cannabis flowers will make them ideal for use, curing cannabis allows you to develop its flavors and aromas, taking your experience to a whole new level. It’s definitely worth the extra time and effort.


